Learn how to create some really cool motion graphics with Laughingbird Software In this video, I’m going to show you how to create MOTION BACKGROUNDS using The Graphics Creator.
Create your own motion graphics with The Graphics Creator by Laughingbird Software (for both Mac and Windows).
In this Tutorial Tuesday video, you’ll see how to use the ‘integrated’ PEXELS videos to create really awesome motion backgrounds.
You’ll also see the new CINEMAGRAPH package from Bryan Mullennix of CrackerClips.
I also show you a free tool called “Handbrake” that will help you convert your video into an MP4 that looks amazing! Great for uploading your creations to Facebook or Instagram You can download Handbrake free here: https://www.handbrake.fr
The settings I am using in this video:
• Format: MP4 • Align A/V Start
— In the DIMENSIONS tab — • leave everything as default
— In the FILTERS tab — • leave everything as default
— In the VIDEO tab — • Video Encoder: MPEG-4 • Framerate (FPS) 30 • Check “Constant Framerate • Quality (Constant Quality) 1
* Don’t forget to save your preset!
Also in the video, I mention the new Cinemagraphs pack from Bryan Mullennix! get the new Cinemagraph Package of videos here:
The Graphics Creator Software has become the easiest way to create your own designs and social media graphics . It’s used all over the world for content marketing and visual communication.
(It’s the best Photoshop and Canva pro alternative on the market). And! With all Laughingbird Software products, You’ll have access to our ‘Creatorpreneurs Academy’! Learn smart money tactics and creative marketing strategies – every week!
Drop a comment below and let me know what you think of the tutorial on making your own motion backgrounds Let me know if the comments below if this helped you create your own motion graphics!
Graphics are an almost magical addition to your online business. In addition to having an attention-grabbing headline and amazing copy, relevant graphics will keep visitors on your page and help you sell more.
Here’s an easy-to-follow checklist on the top ten graphics you need to sell your product or service online.
10 Graphics Your Online Business Needs
1. Page Header
Your website’s page header should tell people what your page is all about and how you can help your visitors. After all, it’s the first thing they see when they arrive at your site.
Not only should it include your logo and business name, but it should also include a call-to-action telling your visitors what to do next. Additionally, add links to important areas of your site like your products/services, blog, and support/contact.
2. Product and Cover Images
The next thing visitors will see is what you’re offering. Therefore, each product (or service) needs to stand out. Create simple virtual covers or present physical products in a way that represents how your offer will solve their problem.
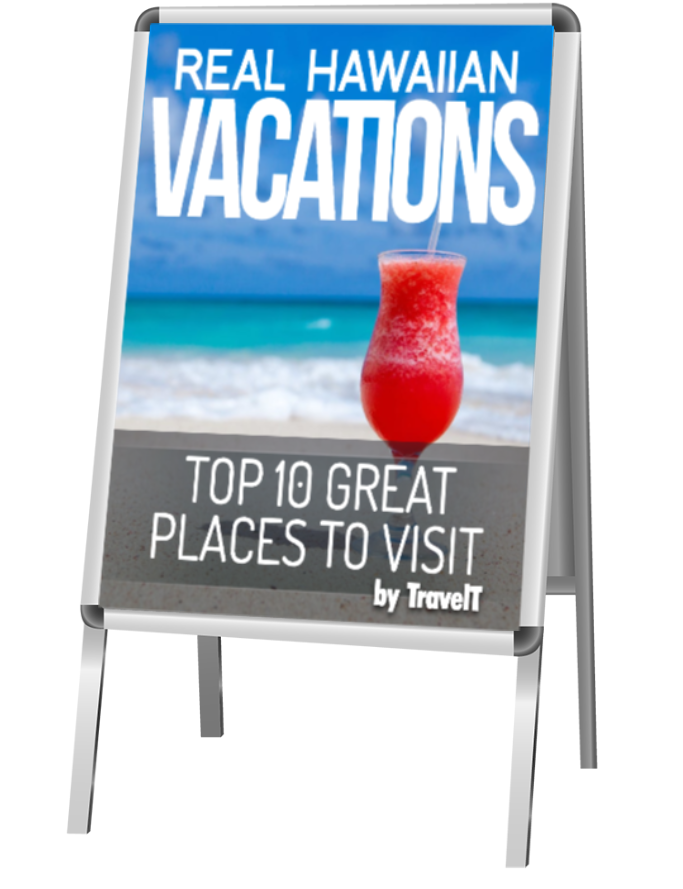
3. Mockup Designs
Mockups can give a boost to your professional presentation as well as allow you to group products in a meaningful way.
A mockup essentially takes your graphic and puts it inside an object making it look like a real presentation. See the two examples below.
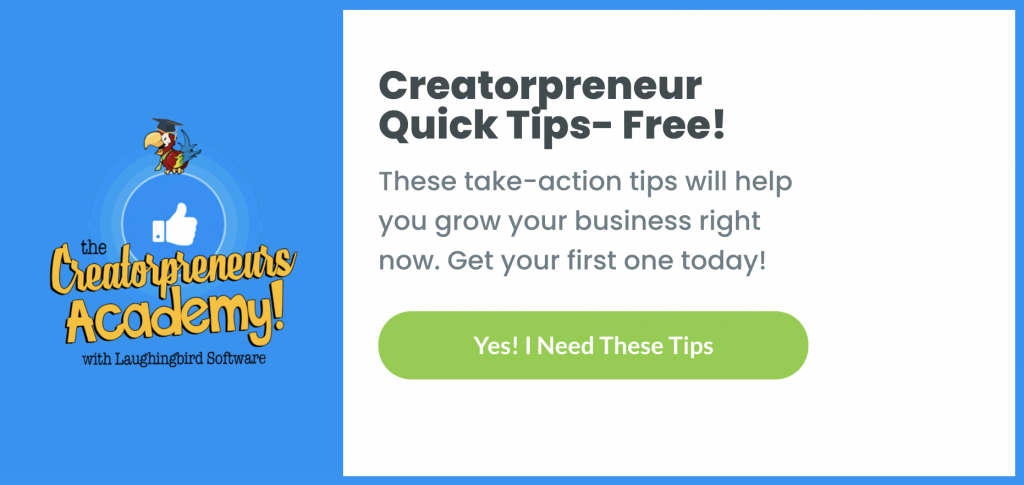
4. Lead Magnet Graphic
You may have a great offer, but if it doesn’t get attention immediately, your visitors have already moved on to the next one. Use a lead magnet graphic to offer your audience something of value for free.
Make sure your graphic is simple, has a splash of color, and is consistent with your brand.
Click the image to get more marketing and design tips for FREE 🙂
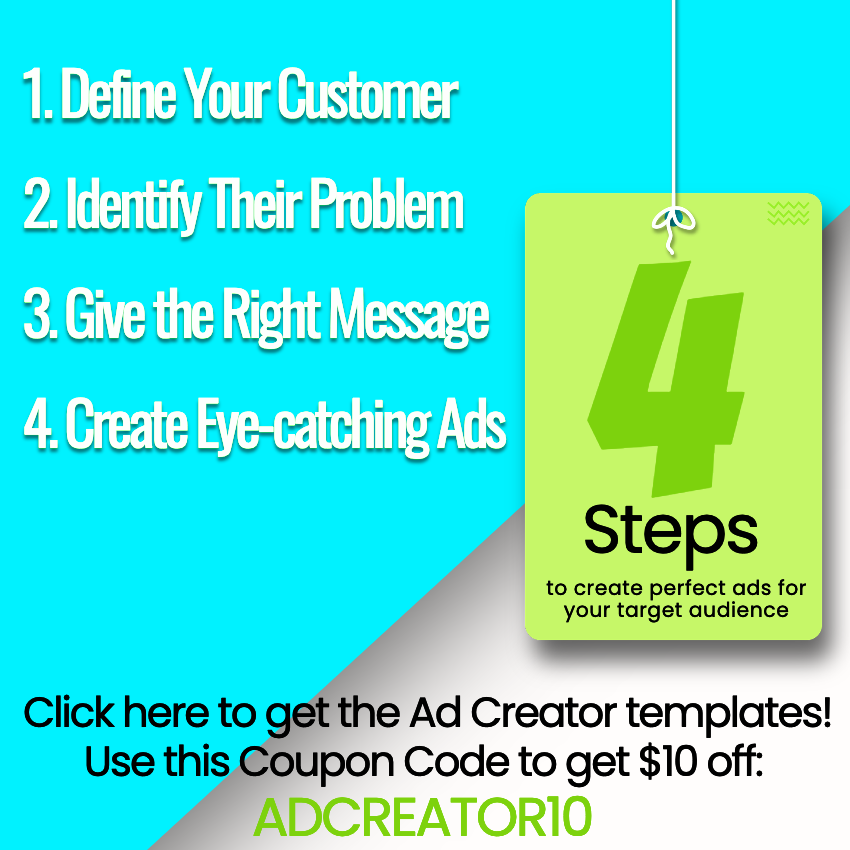
5. Sales Announcements
Let people know you’re offering a super amazing deal with an attention-getting sales announcement. Include these graphics on your website, in emails, and on social media.
Click on the image and get $10 off The Ad Creator with the coupon code: ADCREATOR10
6. Social Media
You need to be posting daily on your own social accounts to get engagement that will lead to sales. Not surprisingly, this means that you need images for these posts every single day as well.
These don’t need to be elaborate graphics, however. Create a quick question, tip, or quote with an easy-to-read font and add a beautiful background.
7. Facebook Group Headers
If you’ve organized a group on Facebook, you’ll want to make the most of it by having a branded and informative header.
On your header, include your logo, profile pic, and the most important information you want them to know. Perhaps even include a call-to-action.
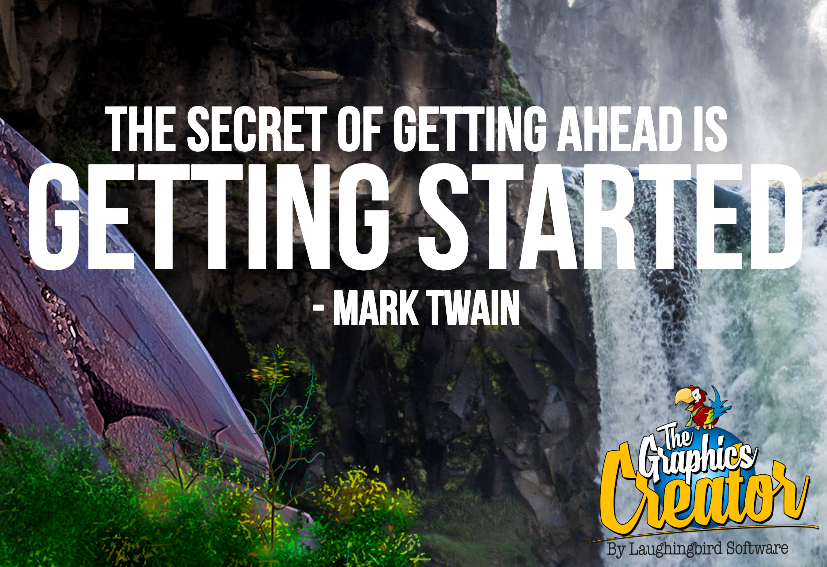
8. Shareable Content/Tips
Share free and helpful content to others, everywhere you can.
Make a graphic that lists short, helpful steps to a solution. Or write out a tip or quote that provides advice or inspiration. And always use a visually interesting background and simple font that’s readable.
9. Logo
You need a logo, not only for your website and business cards but also for every single graphic design listed above.
Your logo should be placed on other graphics to remind your viewers who you are. It should also communicate the feeling you want them to have about their business.
10. Featured Graphics for Your Blog
Don’t blow all of your hard work writing an article by leaving out graphics! Relevant images will help grab your viewer’s attention, educate them, and break up chunks of text, making your article easier to read.
Take a look at the top of this page for a good example… that’s the “featured” graphic. And look at how the other graphics in this article are relevant to what’s being discussed.
Create All 10 Graphics and Increase Sales… Fast
You need stunning graphics for almost everything if you own an online business. And because you share a variety of graphics for your website, blog, social media, advertisements, and more, creating your own graphics is an absolute necessity for you.
So, make it easy!
Easy Graphics
Use The Graphics Creator software and templates to create the ten graphic designs that’ll help you increase engagement, traffic, and sales.
Your online business success depends on you making sales, whether it’s from a website, blog, or social media. And stunning visual design is one of the top ways to attract visitors.
So it makes sense that you’ll need a variety of graphic design templates to increase your traffic and make more sales. Follow along to discover the 5 ways that using a power pack of graphic design templates will get you more traffic and grow your business.
5 Ways Graphic Design Templates Will Help You Sell More
-Get more traffic to your website
Attention-getting design will make people stop and click. So you need to post informative graphics on social media, forums, advertisements, etc. daily. Use your images to tell them what them to do and direct them to a web page or blog post that’ll have your amazing offer presented… using more stunning graphics you’ve created from your templates, of course.
-Become your own graphic designer
Create your own graphics and you’ll get the graphics you need at any time of day, in just a few minutes.
Think about it… you can design a graphic for Facebook and then modify it slightly for Pinterest, Twitter, Instagram… whatever you need in a moment’s notice. After all, new ideas and opportunities come up continuously, so you need to be ready.
And the truth is, the more you put your designs out there, the more you’ll draw attention to your offer… and the more you’ll sell.
Want to look like a professional designer? Layers of amazing scenery that you can just drag and drop together will give you cool 3D looking designs. Your audience will believe that you used Photoshop or had a designer create them for you. But in reality, you’ve just created your designs all by yourself with powerful but easy-to-use templates.
Check out this power pack of templates
-Help your visitors believe in your solution
Nice graphics make you look professional and help your audience believe that your offer is valuable.
Here’s an idea: Create designs using people images. People images help your viewers identify with the solution you’re offering. They can improve your audience’s emotional connection to your product or service. In turn, this can give them more confidence that you can solve their problems and help them reach their goals.
-Go above and beyond what your competition is doing
Small businesses are always struggling to match their top competition. One way companies stay on top is by spending thousands of dollars to pay a graphic designer. But that’s just not realistic for most entrepreneurs and small businesses.
However, you can have template-based design software ready to use any time you need it.
And, what’s even more valuable is that you can level up to your competition with motion graphics. You can use pre-designed Motion Graphics templates to add video backgrounds to any graphic or to create animated GIFS.
Video and motion graphics get more engagement on social media and in advertising than do static images. That’s why many big companies are using them. So, why aren’t you? Especially now that you can do it easily yourself.
-Save a ton of money
Yes, creating your own graphics with design templates will save you a ton of money. No need to overpay a designer for each and every image you need.
And how can you use the money you’re saving? How about paid advertising?! Or hiring a virtual assistant who can help you with other daily tasks (so you can create even more advertising graphics!)? There must be a million things you could do with that money. And along with all of the other benefits of designing your own graphics, it’s a win-win!
A Power Pack of Graphic Design Templates
We believe in the power of templates. And we know you can create a professional design with them fast, even without design skills. To help out, Laughingbird Software is offering a Power Pack of Design templates that’ll help you sell more of your product or service.
Watch the video for more info:
What Does a Power Pack of Templates Include?
A power pack of templates includes a variety of professionally-designed templates ready to easily change-up. It’s a “Power Pack” because of its flexibility and unique, attention-getting templates. Additionally, you can simply drag and drop text and images where you want them, without knowing any difficult code or having design skills.
This huge pack of 3 different template sets will let you make motion graphics, people images, and amazing 3D-looking scenes. Check out Laughingbird Software’s combo pack of graphic design templates.
Watch how easy (and how quick!) you can “erase” parts of an image while playing with The Graphics Creator ?
The Graphics Creator Software has become the easiest way to create your own designs and social media graphics . It’s used all over the world for content marketing and visual communication. (It’s the best Photoshop and Canva pro alternative on the market).
And! With all Laughingbird Software products, You’ll have access to our ‘Creatorpreneurs Academy’! Learn smart money tactics and creative marketing strategies – every week! top 50 green screen effects
If you’re a blogger or a writer you know how important it is to optimize your article for search engine optimization (SEO). But you might’ve forgotten how important it is to include properly optimized images in your article.
And just talking about SEO can get a bit “techy” and overwhelming. So the goal of this article is to pinpoint the simple things you can do to improve your image SEO and get more traffic to your website or blog.
Why You Should Always Use Images in Your Article
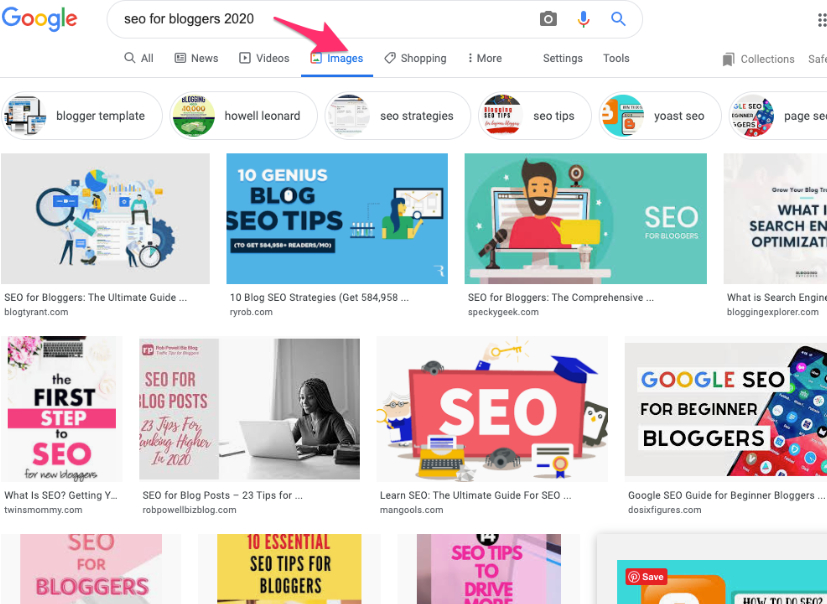
Besides breaking up the text and making your article easier to read and visually interesting, images can help Google and other search engines understand what your content is about. Further, properly optimized graphics and photos can help your article get seen through its rank in visual search.
Google has gotten better and better at picking up images that’ll lead back to your article (click on “Images” in any Google search and you’ll see images relevant to your search).
This is why it’s so important to also use relevant images in your blog or article.
How to Prepare Images for SEO
Creating perfect images is not only important to catch your viewers attention, it’s super helpful when trying to get Google’s attention. Follow these simple strategies while you’re creating your graphic or preparing your photo.
It’s no fun having to go back to the start to fix your image once you’ve finally uploaded it to your blog or website.
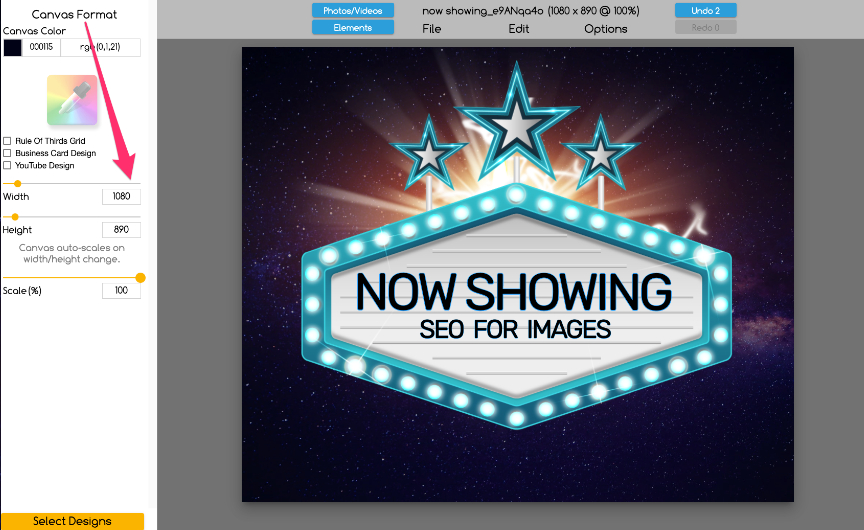
Create Your Image In the Best Size
Easily change the canvas size in The Graphics Creator to optimize your image size
Images are hugely responsible for how fast your site loads… and a fast-loading site ranks better in the search engines!
So, use the smallest image size that fits your article and how you want it displayed. In The Graphics Creator, you can set your canvas size to exactly the size you want.
For example, don’t make a graphic on an 1800 x 1200 canvas and then reduce the size in WordPress to fit your article. Doing this does NOT reduce the size of the graphic, just the size it is viewed at. Instead, create the graphic or image at the size you actually want to use, such as 550 x 350. Then keep the image at 100% quality in your article.
Finally, test how fast your page loads using Google PageSpeed Insights. Then you’ll know whether you need to optimize your images further for good SEO.
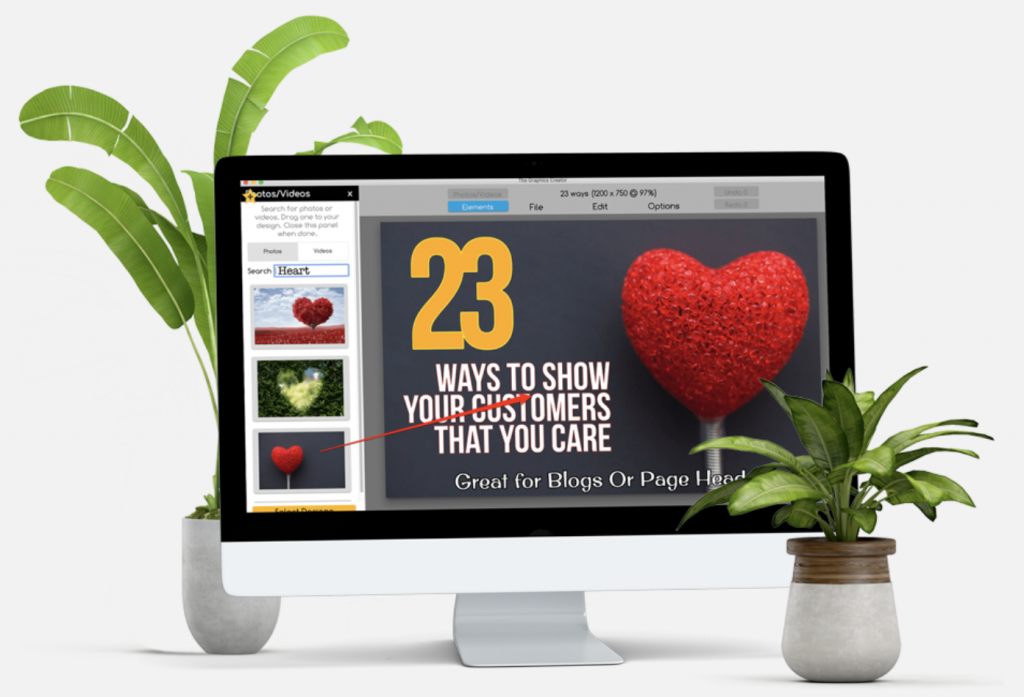
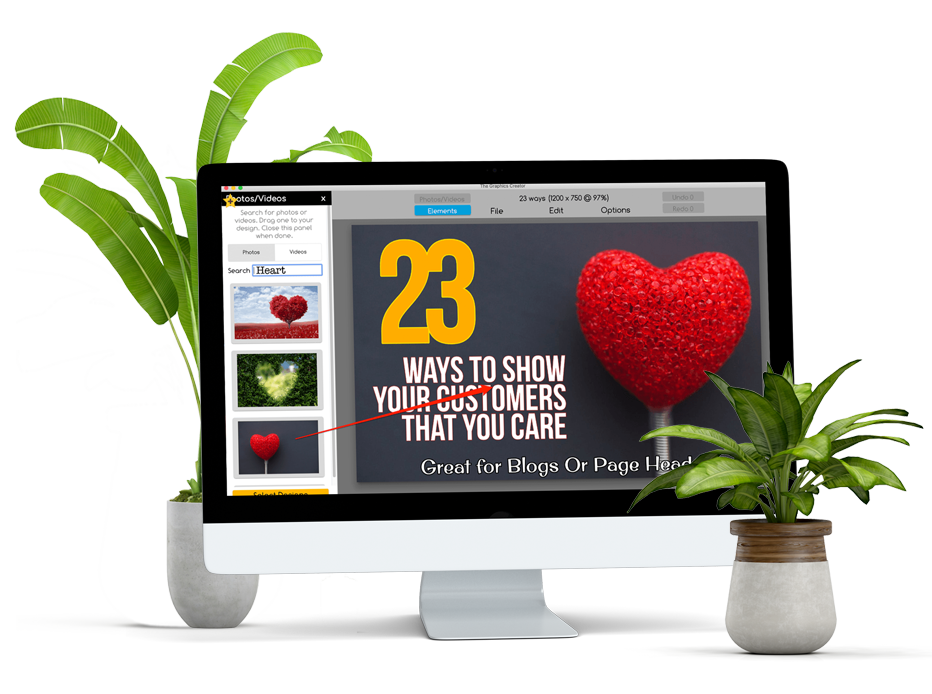
Add Text to Your Image
For optimal SEO, add text to your image during the creation process. This gives Google another opportunity to understand the topic of your article. And, if it’s relevant and meaningful to your topic, then it’ll help Google rank your image and article… not to mention that it’ll provide more useful information to your viewers.
Watch the video to see how to use The Graphics Creator to add text to an image. You can even import your own relevant image and add text. Don’t forget to use a keyword phrase that matches what your article is about.
Save Your Image With the Best File Name
When you “Download” (or export) your design from The Graphics Creator, you can use the best file name right there. This file name is super important. You don’t want your image showing up as “NT284736.jpg” which doesn’t tell Google anything about your image.
Instead, use your keyword phrase in your image’s file name. Again, your image should be relevant to what you’re writing about so it should also name what is seen in the picture. The best file name will start with the subject of the photo and your article.
Use the Best Image Format
There are three main formats that are simple to use for images in your blog or article. When you export the image you created, you can easily choose a format. Here’s how to decide which one to use:
1. JPEG
Choose this for larger graphics or images, as it’ll help you keep the image quality but with a smaller file size.
2. PNG
If you need a higher quality image, choose this file extension.
3. Transparent PNG
If you want to keep the background of the image transparent (so you can only see the object in the image), you’ll need to use this format. It’ll automatically remove the background from the design.
How to Place Images in Your Article
Add a caption to your image when it makes sense
Captions make scanning your article easy. People tend to scan headlines, blocks of text, images, and captions to get information. And this will determine how much of your article they’ll actually read. Further, as long as you use the image near the relevant text, it’ll help viewers understand what they are reading.
Write in the alt text (or alt tag)-
Do this for every image. This ensures that the meaning of your image is not lost, even if an image isn’t showing up correctly (such as on a mobile device), if viewers have turned off images in their browser, or if visually impaired users are using a screen reader. Google will also be able to “read’ the image, which improves the overall SEO of your page.
Additionally, make sure to write the alt text using your SEO keyword phrase. But, make it natural and don’t try to stuff extra keywords in there.
Final SEO Image Tip
Now that you know how easy it is to follow these simple SEO image tips, use this checklist with each article or blog post to make sure your images are optimized for Google and your viewers.
Simple SEO Tips for Images Checklist:
Always use at least 2-3 images in every article
Create your image in the best size
Add text to your image
Save your image with the best filename
Choose the best image format
Add a caption to an image when it makes sense
Write alt text for each graphic or photo
And… Grab The Graphics Creator software and create every image you need for your blog or website.
Click here to get The Graphics Creator and start optimizing your images
The Creatorpreneurs Academy brings together strategic marketing with eye-catching design so you have the tools and skills to grow your business fast


")