Laughingbird Software
Saturday, October 5, 2024
Home Blog Page 17

How to Become an Online Graphic Designer without Going to School

As a creative person, you’ve dreamt of being a graphic designer but never take the first step. Just the thought of going to school and spending a ton of money and time is enough to squash that dream.

And sitting for months learning Photoshop or Illustrator is something you can only afford to do once you’re making money and somehow, through only a miracle, have the time.

The truth is that going to school or learning a complicated graphics program may not be right for you, or even necessary at all.

So here’s the good news: You can become an online graphic designer without going to school and without spending ridiculous amounts of time learning design software.

If you’re ready to start a full-time business using just your desktop or laptop computer or excited to have a part-time designer gig working from home, you can start right now making graphics for online businesses.

Here’s how!

How to Learn Graphic Design on Your Own

There are really only two things you need to be a designer in the online world:

  1. Graphic design software that’s easy and starts you off with design inspiration… yet is powerful and flexible enough to let your creativity take over.
  2. A short course or tutorial series that helps you learn with hands-on action as you go.

Below you’ll find a free graphics software app and a short, 9-part video tutorial series that’ll get you started towards becoming an online designer… in under one hour.

So, what are you waiting for?!

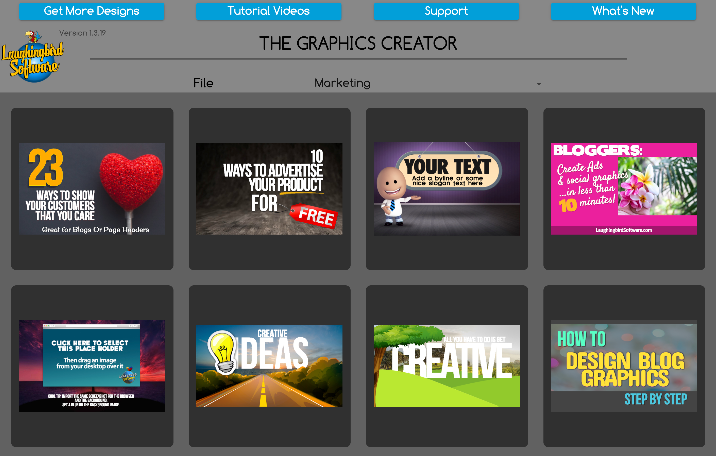
Easy-to-Learn Graphic Design Software

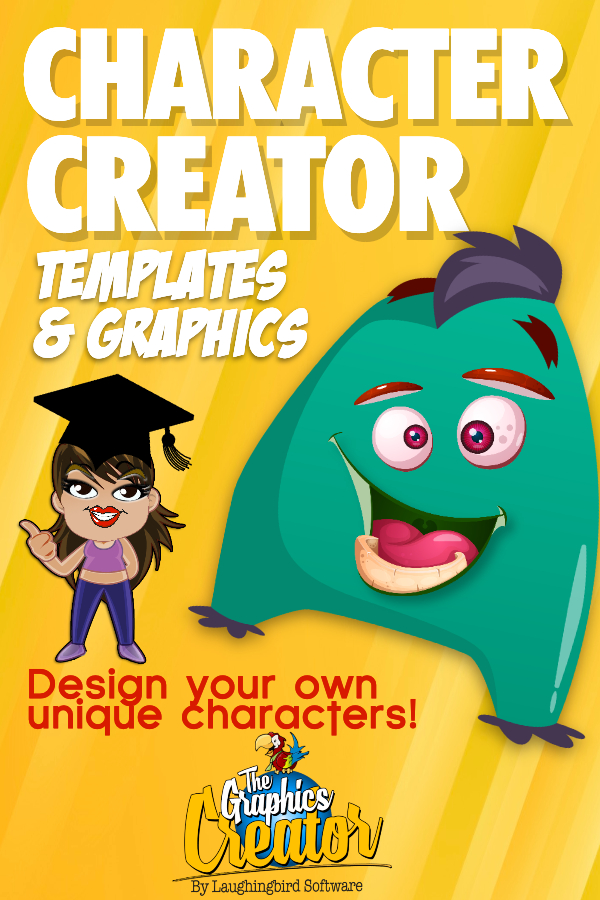
First, grab your free Graphics Creator software. Just choose Windows or Mac below and click to download!

Once your software has downloaded, just double click to install it.

Next, click your new Graphics Creator icon! You’ll see instructions to “Remove the Watermarks”.

Follow along to download and install the free templates (doing so will also remove the Watermarks so that you can learn and create without any restrictions).

Once your graphics software AND the templates are installed, you’re ready to become an online graphic designer… without going to school!

Begin Your Simple Video Tutorials Course and Start Designing

Now that you have the perfect design tool with templates, begin watching your video tutorials “school”. Nahhh, not really.

It’s just a mini-course or series that’ll help you become an online graphic designer. Just follow each video to learn all of the basic features, tips, and tricks of using The Graphics Creator.

You’ll discover how easy it is to create graphics that look like a designer made them, even if you’re not exactly a professional yet. And you can easily pause a video any time to try out what’s being shown. Simple.

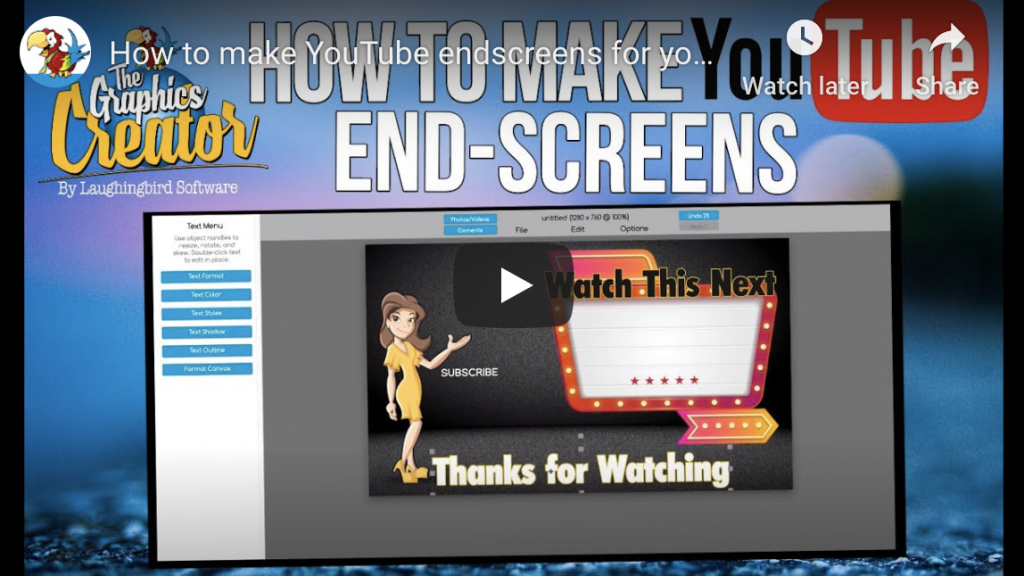
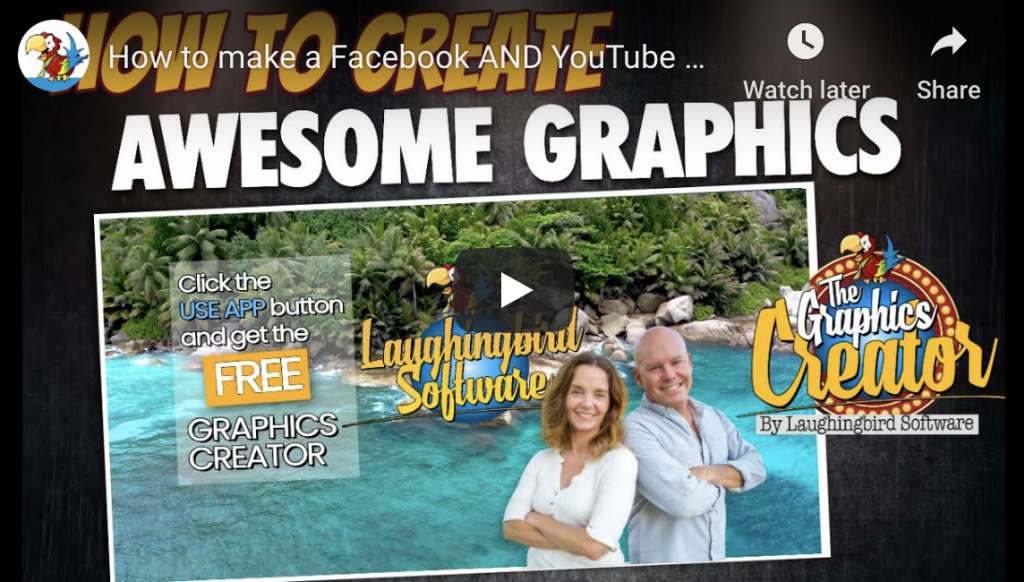
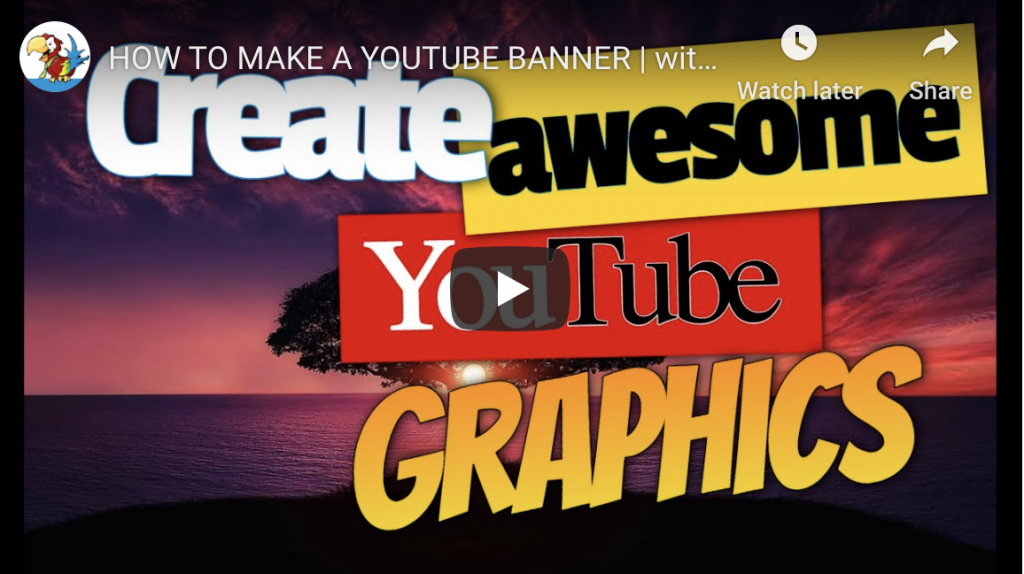
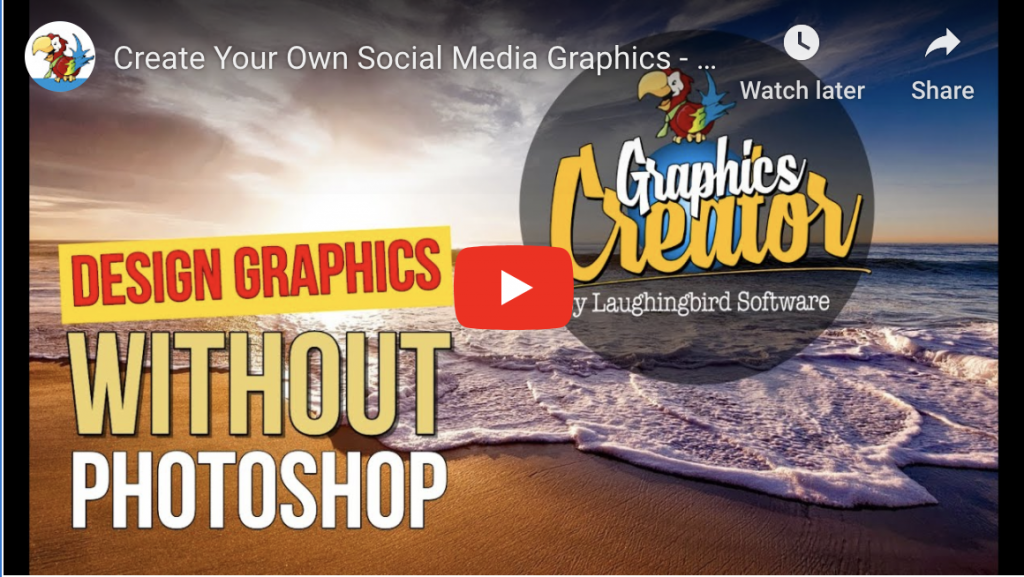
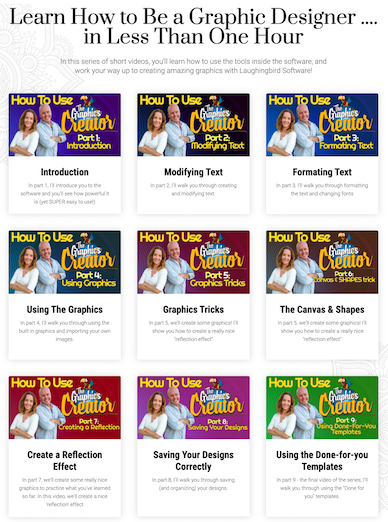
Watch the 9-part Mini Design Series:

START HERE!

Learn how to be a graphic designer in less than one hour. Just follow this 9-part graphic design tutorial using the Graphics Creator software.

You’re an Online Graphic Designer… Almost

Now that you’ve watched the nine videos to learn the basics, your focus will be on practicing your new design skills.

Additionally, you can improve your design skills by:

  • Watching other Laughingbird Software videos
  • Talking to other designers in the Creatorpreneurs community, and
  • Checking out other articles that’ll give you the skills and ideas to create graphics for online businesses.
  • And getting more inspirational design templates for fast and easy creation

Just think about this… if you were to have gone to a graphic design school instead of watching this video tutorial, you might have only just finished the first chapter or two of your brand new, and expensive, design theory book.

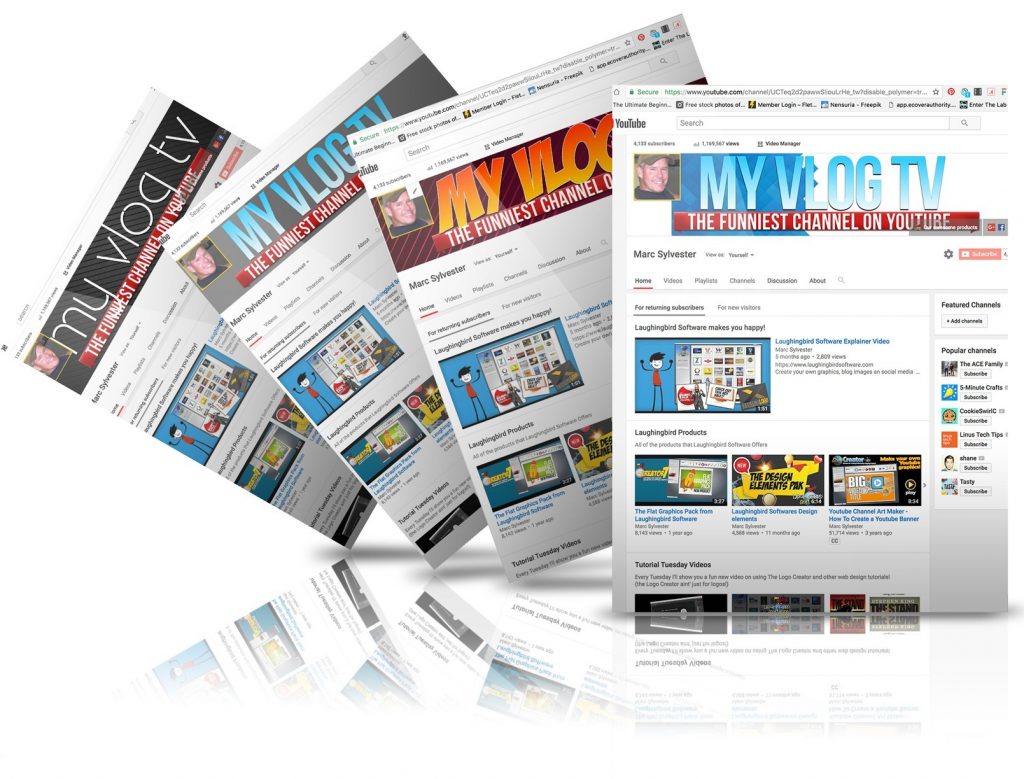
Instead, you’ve just learned actionable design that you can build upon each day. And you can now offer your graphic design services to other businesses who want online images for advertising, social media, products, and content.

More Design Inspiration

I hope you’re excited for what the future holds for you as a graphic designer. From working part time to making it a full-time career… either way, you’ve discovered a fun and creative way to earn some cash, work at home, and serve others with your design talent.

More resources that’ll make becoming an online graphic designer easy and fun:

  1. Get more templates and graphics, for inspiration and fast, easy design creation.
  2. Join The Creatorpreneurs community on Facebook.
  3. Follow Laughingbird Software’s blog that focuses on creating online graphics for small businesses.
  4. Sit back and watch more videos showing exactly how to design what your paying customers need.

7 Ways To Promote Your YouTube Channel

As an entrepreneur, you know you need to spend more time advertising your YouTube videos.

But knowing where to even start can feel overwhelming. After all, you’ve already stressed over just making a video. But the important thing to know is that you can make money and grow your business on YouTube.

So, don’t give up!

Follow These 7 Ways to Promote Your YouTube Channel

You don’t need any experience. Just start with number one and check them off as you go:

1. Write Engaging Titles

The first step toward building an audience is to get people to start watching your videos. If the titles are boring and non-engaging, nobody’s going to click through to watch your videos.

Take a look at the titles for your current videos. Are they enticing enough to get people to click? If the answer is no, look for ways to improve it.

Keep it simple but always make it clear how your audience will benefit by watching a video.


Learn how to promote your YouTube channel with 7 easy tips.
Share on Pinterest!


2. Go Through Your YouTube Channel SEO Checklist

YouTube is the second-largest search engine in the world. Similar to Google, people use it to find solutions to their problems, get more information on a certain subject, or to answer a question.

As a result, organic search is one of the best ways to promote your YouTube channel.

Although there are many ways in which YouTube may rank videos in search, try following some of the best practices for YouTube SEO. These ideas will increase the chance that your video will show up to more of your desired audience:


-Titles and Description

Include targeted keywords in both the title and description. You can use a tool like Keywordtool.io to help you find keyword ideas.

And… use keywords within your video. According to Brian Dean of Backlinko, speaking the target keywords inside your video will let YouTube better understand what your video is about.


-Engagement

Like many other social platforms, YouTube uses “engagement” (likes, comments, views) to help decide where videos rank in its search results.

So, increase activity on your channel by adding channel tags, using a great title, responding to comments, and creating unique background images and thumbnails.

End screens are another way to promote your business on YouTube. Check out this video on how to make an end screen:


Watch the video to learn how to make an end screen to promote your YouTube videos


-Categories

Make sure to define your “categories” to help YouTube get a better understanding of who to show your videos to. You won’t get many clicks on a video if people are coming only to find out it’s not what they are interested in.


-Tags

In addition to categories, use as many tags as possible. This will also give YouTube a clearer picture of the content and make advertising your channel much more worthwhile.

3. Promote Your YouTube Videos on Facebook

Use Facebook’s native video uploader to share video content with another audience. Facebook videos may get more engagement than shared YouTube video links.

Always include a “call-to-action” within the Facebook video post. Tell your audience exactly what you want them to do next. For example, “Check out my other videos on YouTube” (and include a link).

Just remember to make your graphic headers for both Facebook and YouTube look consistent.

Save time!!! Watch this video to create a Facebook header that you can then easily turn into a YouTube header banner:


Make a YouTube banner from your Facebook banner in just minutes.

4. Cross-Promote Your Videos

Who better to promote your YouTube channel than yourself? 

Think of ways you can promote some of your videos within your other videos. For instance, reference an older video within a newer one and leave a link to it in your description. Now viewers can easily find your other content.

You can also use “cards” to help people navigate to other videos. These allow you to give more information and a direct link to your product or service.

But, consider waiting until the end of the video to add cards. You won’t want people clicking away from your video that they’re already watching.

5. Keep Your Video Titles Under 50 Characters

This is an easy one! Don’t make your video titles any longer than 50 characters! Any longer and your title will get cut off, decreasing the chances it will get clicked in search.

6. Embed Your YouTube Videos on Your Blog

Help people find all of your video content on YouTube by embedding the videos on your blog or website, as well as other social media channels. This will increase views of your video and may increase your site’s page views.

7. Use A Custom Thumbnail for Each Video on Your Channel

Verified YouTube accounts can take advantage of the custom design thumbnail feature. A good video thumbnail helps you stand out in the “related video” and “suggested video” sections.

Get some tips on designing and quickly make your thumbnails (and YouTube banners) by watching this video:


Watch the video to find out how to Create YouTube Graphics to Promote Your Business


-Thumbnail tips:

Have a resolution of 1280 x 720 (with a minimum width of 640 pixels). Upload in either .JPG, .GIF, .BMP, or .PNG. Keep it under 2MB. Use a 16:9 aspect ratio as it’s the most commonly used in YouTube players and previews.

And your thumbnail should work well on both desktop computers as well as mobile devices.


Want to promote your YouTube Channel with attention-grabbing graphics?

Get The YouTube Channel Art Creator and make banner graphics and thumbnails like this:

You can promote your YouTube channel by creating your own banners, thumbnails and video graphics using The YouTube Channel Art Creator.


Conclusion

So, you may be wondering which of the seven ways discussed above works best to promote your YouTube channel.

The answer is… all of them together!

These ideas are actually pretty easy to implement. Just start with tip one and start working through them now. Once you’ve done it a few times, it’ll be easy to do for every video you publish.


How to Make Cartoon Characters for Advertising Your Business

4

Cartoon characters can be used for advertising your business any time you need a boost in attention and sales. After all, you can’t go wrong in adding a bit of fun or entertainment in your images and website.

Further, using cartoon characters for marketing, or using a personalized character as a mascot for your brand, can help your business build long-term customer relationships

Continue reading to find out why you need marketing characters and how to make a character for your brand, even if you’re not an artist. Then learn how to use your character or mascot with your perfect business audience.


Why Your Business Should Use a Character or Mascot for Advertising

Think back to your childhood and all of the cartoon characters that come to mind. Each one of these characters brings positive emotions and pleasant memories. And you can probably identify what show or product each character is from.

This is because they make you feel good. In addition, characters are engaging, unique, fun, and tell stories… all of things you want your brand to do for your customers.

When a character resonates with a potential customer, you’ll get that person’s attention for a longer period of time, giving you a better chance to build a relationship and eventually make a sale.

Getting this extra time with a potential customer is hard to do with attention spans being so short. And, of course, there’s always a ton of competing images and advertisements. So you need to do anything possible to get extra time with your audience!

How To Make a Cartoon Character Without Any Art Skills

You don’t need to be an artist or pay a professional artist tons of money to use characters for advertising your business.

However, you also don’t want to use stock images or characters that anyone can buy and use. Then your character would no longer be unique to your brand, as many other businesses could be using it as well.

A great solution to this problem, therefore, is to create your own character.

Watch the video below to find out how to make your own character with:

The Character Creator

Now that you know how to make a cartoon character without hiring a designer, take a look at how to use your character or mascot effectively in advertising your business.

How to Use Cartoon Characters to Promote Your Business

There are a few things to keep in mind when using characters to advertise your business.

  1. First, make sure your cartoon advertising character will be viewed positively by your audience. Is your character likable, friendly, smart, and helpful?

    Your character should build a relationship with your audience.

  2. Use your character to teach and entertain your customers, as well as to help them solve their most pressing problem.

  3. Your brand mascot should be everywhere! On business cards, social media posts, ebooks, advertisements, and your website.

    Remember, your character is telling the story of your brand and offering help to your audience. So, the use of your character should be consistent.

    Customers will also learn to automatically recognize your mascot, which will help grow your brand!

  4. Make sure to personalize the character and image for your unique brand and business offering.

    Make sure you find a cute, lively, or funny character that resonates with your post or unique niche. Goofy little monsters might be super cute for selling your child daycare services, but will they resonate with a more mature audience?

  5. Decide on a personality for your character and stick with it. Always keep true to your character’s life story, personality, and behavioral traits.

    Make your character have a similar problem to your customers. Then have your character resolve the problem. That’ll help your audience empathize with the character and create an emotional bond with it.

Use The Character Creator to make your character for advertising your business

Using Cartoon Characters in Marketing Will Grow Your Business

That’s the bottom line!

Take advantage of how cartoon characters can build long-lasting relationships with your customers and help them solve their problems in a fun and entertaining way!

Use your own perfectly created characters to advertise your business, or create the perfect mascot for your audience, to get more attention and bring in more sales.

6 Graphic Design Basics for Small Businesses

22

You know you’re a beginning designer when you spend too much time moving around graphic elements but are still unhappy with your final image. And, if you’re an entrepreneur or small business tackling design while also running the rest of your business, it can seem a bit overwhelming. 

But creating your own designs saves you a ton of money and gets you every image you need fast, exactly when you need it. Plus, it makes it a no brainer when you have access to an easy creation tool with pre-designed templates.

Blog Graphics Design in Six Easy Steps

2


You’ve probably heard that an article with high-quality blog graphics is read more easily and gets way more social media shares.

Unfortunately, for most bloggers, the problem is that you’re NOT a graphic designer. You don’t have time to learn complicated design techniques or a ton of money to spend on graphic designers.

However, you can learn to design your own blog graphics at a moment’s notice in just minutes.

First, download the FREE Graphics Creator software. Now follow along step by step!


Six Easy Steps to Designing Amazing Graphics for Your Blog, Pinterest, and Social Media.


How to make blog graphics with The Graphics Creator


If you’re a blogger or content creator, you constantly need graphics for your blog and social media. So, you need graphics creation to be easy. And you probably don’t have time or money to hire a designer for each and every graphic.

Have you ever wished you had an in-house designer to make every graphic you need?

I’ll show you how you can become your own in-house graphic designer and create blog and business graphics in minutes, at any time of day.


You might also like to grab the Blog Graphics Templates and Pinterest Templates with Motion Graphics

* COUPON:  Use this coupon code for $10 off any template set:   Laughingbird10-off


Follow these 6 quick steps to create your very own blog graphic in under 20 minutes (and once you get the hang of it, which won’t take long, you’ll be whipping out each graphic in just a few minutes).


Design blog graphics in 6 easy steps with The Creator7 social media templates.
Share on Pinterest!

Before beginning, have you downloaded The FREE Graphics Creator design software yet?  

Yes, it’s FREE!

Then, be sure to also install the free templates (this will remove the trial watermarks… those pesky squiggly lines).

Now, let’s design your first blog graphic!


Step 1. Begin Creating your Blog Design

Select the free template set from the pull-down menu on top. Then click on a template you want to use.


Create graphics for your blog with these free templates
A few of the “drag & drop” templates you get with The Graphics Creator Free software


Step 2. Size the Software Canvas

This is where you’ll be designing all of your images. You can re-size the canvas to a size needed for your blog, making it bigger, smaller, wider, or taller. 

After selecting your first template, start by clicking on “Format Canvas”. Here you can re-size the canvas (making your overall image bigger or smaller) and change the color of the background.


How to chage the canvas size on The Graphics Creator software


A typical blog graphic header, otherwise known as a “featured graphic”, is a rectangle (canvas size is set at 1200 x 750 in this example template).

However, you may also wish to use a variety of sizes for smaller content graphics throughout your blog article.


Step 3. Choose your Images

Being a serious blogger, you’ll want to make sure your images are relevant to your article and help readers understand what the article is about.  Good images can even be teachable moments.

So, considering the importance of images, there are two images you may wish to modify:

OBJECTS

After selecting your first template, click on an image or object in the template to “highlight” it. Then you’ll see the “Image Menu” on the top left.

You can delete it and choose a new object/s. Or simply re-size it or re-color it.

To re-size objects or text… Click to highlight and use the “grab handles” to resize in all directions.

Choose where to go within the Image Menu. You have several options to choose from. To get a feel for the software, click on different menu choices and play around a bit.

Once you have the perfect object, re-size and modify just like you would any image or object already included in The Graphics Creator.

BACKGROUND IMAGES

What is the purpose of this image in your blog and in your article’s overall design? You might wish to have similar background images to stay consistent with the article’s topic and your brand.

You can change the background image by clicking on and deleting the current image. Then you can search for new images in your “Elements” tab or by searching from your “Photos/Videos” tab. Or you can also import a photo or graphic from your computer.

How to Import a Photo or Graphic for your Blog Design:

Yes, you can import images and resize them to fit your canvas! There are two easy options here.

  1. To import an image from your computer desktop, go to the “File” menu for at the top of your screen and choose “Import Image”. Select your image and you’ll now find it on the canvas!
  2. Use The Graphic Creator’s searchable stock images without ever leaving your blog design.

Take a look:


This is hot to import a stock photo image for your blog into your Graphics Creator

Important Advice: Use an image that’s relevant to your blog so that the search engines and Pinterest have a good understanding of what your article about. This will help it rank higher in both.


4. Add your Text

Now change the text by clicking on the piece of text you want to change. The menu on the left will change to “Text Menu”. This menu works in the same way as the Image Menu but has more options.

For now, keep it simple. DOUBLE-click to highlight the text and write out what you want. 

To add additional text, select the “Edit” Menu and choose “New Text”. Then DOUBLE-click to highlight and change the text. You may also wish to select a new font. 


5. Choose a Different Font and Background Color or Image

This step is optional but recommended… especially if you’re using your final graphic on your blog article or for a Pinterest pin.

Choosing a different font and modifying the background will create a more customized design. And having a unique design will help you rank in both Pinterest’s and Google’s algorithm, thus bringing you more traffic!

It’s easy. Here’s how.

If you want to use a different font, click “Text Format” and select from hundreds of fonts. Make sure you’ve highlighted the text you want to change first.

There are a couple of options here:

  1. PICK A SYSTEM FONT
    or
  2. PICK A GOOGLE FONT

Just click on either option and scroll to choose a font that looks good to you.


How to Pick a new font for your DIY blog graphic design in The Graphics Creator


You can also scroll to choose here but you can also type in a Google font you’re searching for. If you’re looking for a particular type of font, you should click on “Preview Google Fonts”.

Click on “Categories” and you can browse different types of fonts including serif, sans serif, and handwriting.


6. Download your Final Blog Image

Once your design on the canvas is complete, go to the “File” menu and choose “Download Image. Select JPEG or PNG (JPEG is usually good for blog graphics)

After creating one or two images, you won’t need these instructions anymore.

It’s that easy to tackle your own blog graphics design!


Now That You’ve Designed your First Blog Graphic

Congratulations! You’ve created your first blog graphic design.

You can continue to practice with your free templates. Then grab the full set of Blog Graphics Templates.


Grab the Blog Graphics Templates for The Graphics Creator here


And if you’re like most bloggers and wisely spend your time on Pinterest, then take a look at the Pinterest Templates with Motion Graphics … easily make your own attention-grabbing Video Pins!


Pinterest Pins With Motion Backgrounds


Want more DIY design inspiration or ideas on how to use The Graphics Creator by Laughingbird Software? Check out all of our articles and video tutorials in our Creatorpreneurs Academy 🙂

The Creatorpreneurs Academy brings together strategic marketing with eye-catching design so you have the tools and skills to grow your business fast.